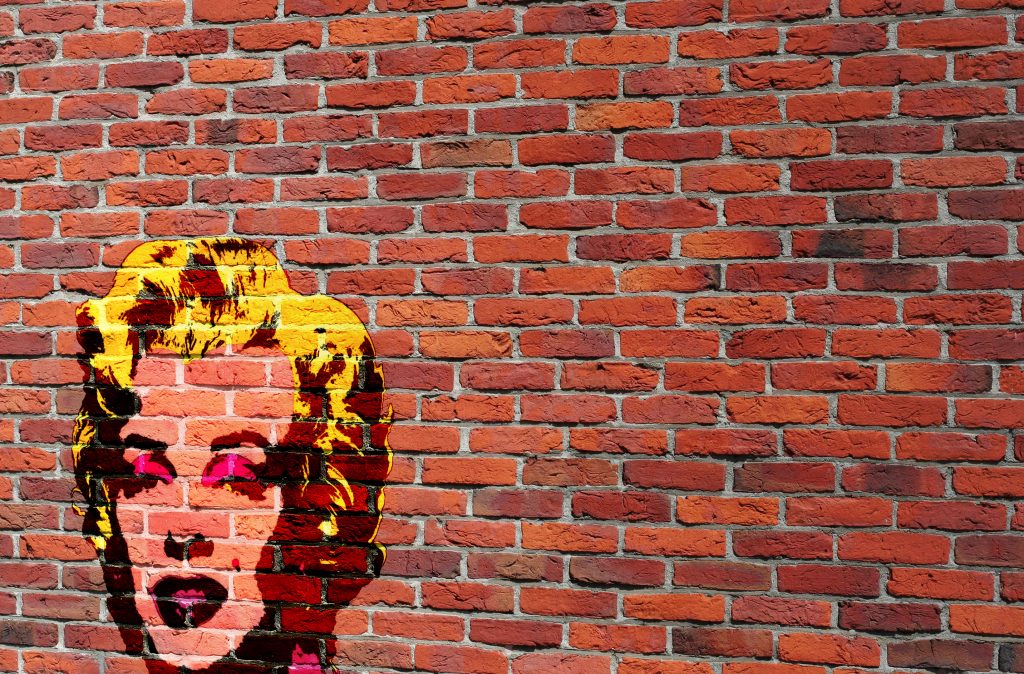
Photoshop tutorial: Brick Wall Portrait
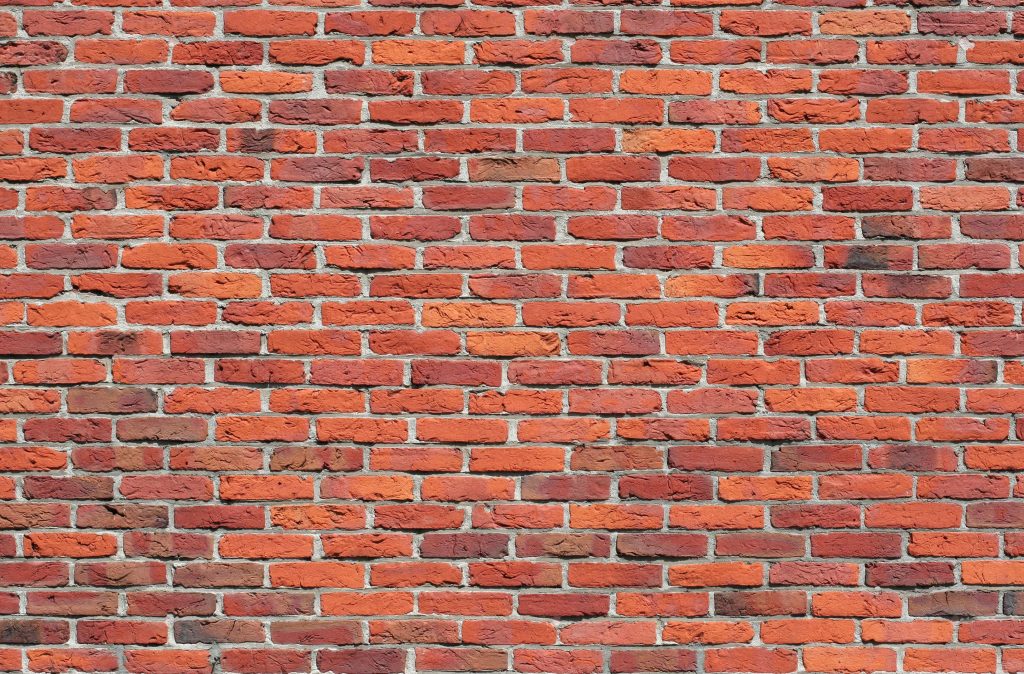
- Download any jpg image of a brick wall.
- Clicking the three lines on the top right of the layer in the layer panel, duplicate the layer as a separate document.
- Click “New.”
- Name “Displacement” and click “OK.”
- Go to Filter > Blur > Gaussian Blur.
- Adjust radius to 3.0 pixels and click “OK.”
- Remove all color by pressing CTRL + Shift + U.
- CTRL + L to open Levels Window
- Input Levels
- 41 on left.
- 199 on right.
- Click “OK.”
- Save as PSD.
- Close “Displacement.”
- Open Picture you want to use as your portrait.
- Quick Selection Tool 10px.
- Select Subject.
- Press and hold alt to remove areas of selection.
- Press Q to see selection as a Quick Mask to make sure everything you want is selected.
- Press Q to revert it back to a selection.
- CTRL + J to cut subject into a new layer.
- Press V to open move tool, drag subject onto tab with original brick wall.
- CTRL + T to resize, if needed.
- Convert into Smart Object
- Layers Panel > Three lines in the top right > Convert to Smart Object.
- Double click on empty side of layer to open Layer Style.
- Click stroke.
- Size 2px.
- Position: Outside.
- Click “OK.”
- Filter > Filter Gallery > Artistic Folder > Fresco.
- Brush Size: 1
- Brush Detail: 10
- Texture: 1
- Click “OK.”
- If any black spots remain, click Layer Mask Icon.
- Use Eraser tool to erase black spots.
- Convert layer into Smart Object once again.
- Blend Mode > Overlay.
- Adjust opacity (if needed).
- CTRL + T.
- Top right corner of transform, drag down while holding shift until a little more than halfway.
- Slide portrait to the left and hold shift, then press enter.
- Filter > Distort > Displace.
- Horizontal Scale & Vertical Scale: 5
- Stretch to fit.
- Repeat edge pixels.
- Click “OK.”
- Open Displacement PSD.
- CTRL + J.
- Blend mode: Soft Light.
- CTRL + Shift + ALT + E.
- CTRL & – 2x to zoom out.
- Edit > Transform > Perspective.
- Go to bottom left corner and drag down.
- Or if you want it angled the other way, drag down right corner. (I did this).
- Commit transform.
- Create new layer.
- Open Gradient tool (Make sure Linear Gradient icon is selected).
- Click the Gradient bar > Gradient editor > Black, White.
- Stops > Color Picker > #808080
- Click “OK” on both windows.
- Go to the edge of the brick wall, hold shift, release cursor at middle of portrait.
- Blend Mode: Linear Burn.
- Opacity: 40%